Is It Easy to Install an Outdoor Sauna? Easier Than You Think
Imagine stepping into your backyard
Imagine stepping into your backyard, hearing the quiet crackle of a sauna heater, and feeling the gentle heat wrap around you. It sounds like a luxury reserved for mountain resorts or high-end spas — but the truth is, having your own outdoor sauna is much easier than you think, especially when it comes to installation.
Whether you’re planning a weekend DIY project or want to know what to expect before hiring professionals, here’s a complete guide to what installing an outdoor sauna really looks like — from unpacking the first panel to enjoying your first relaxing session.
Prefabricated Sauna Kits: The Game Changer
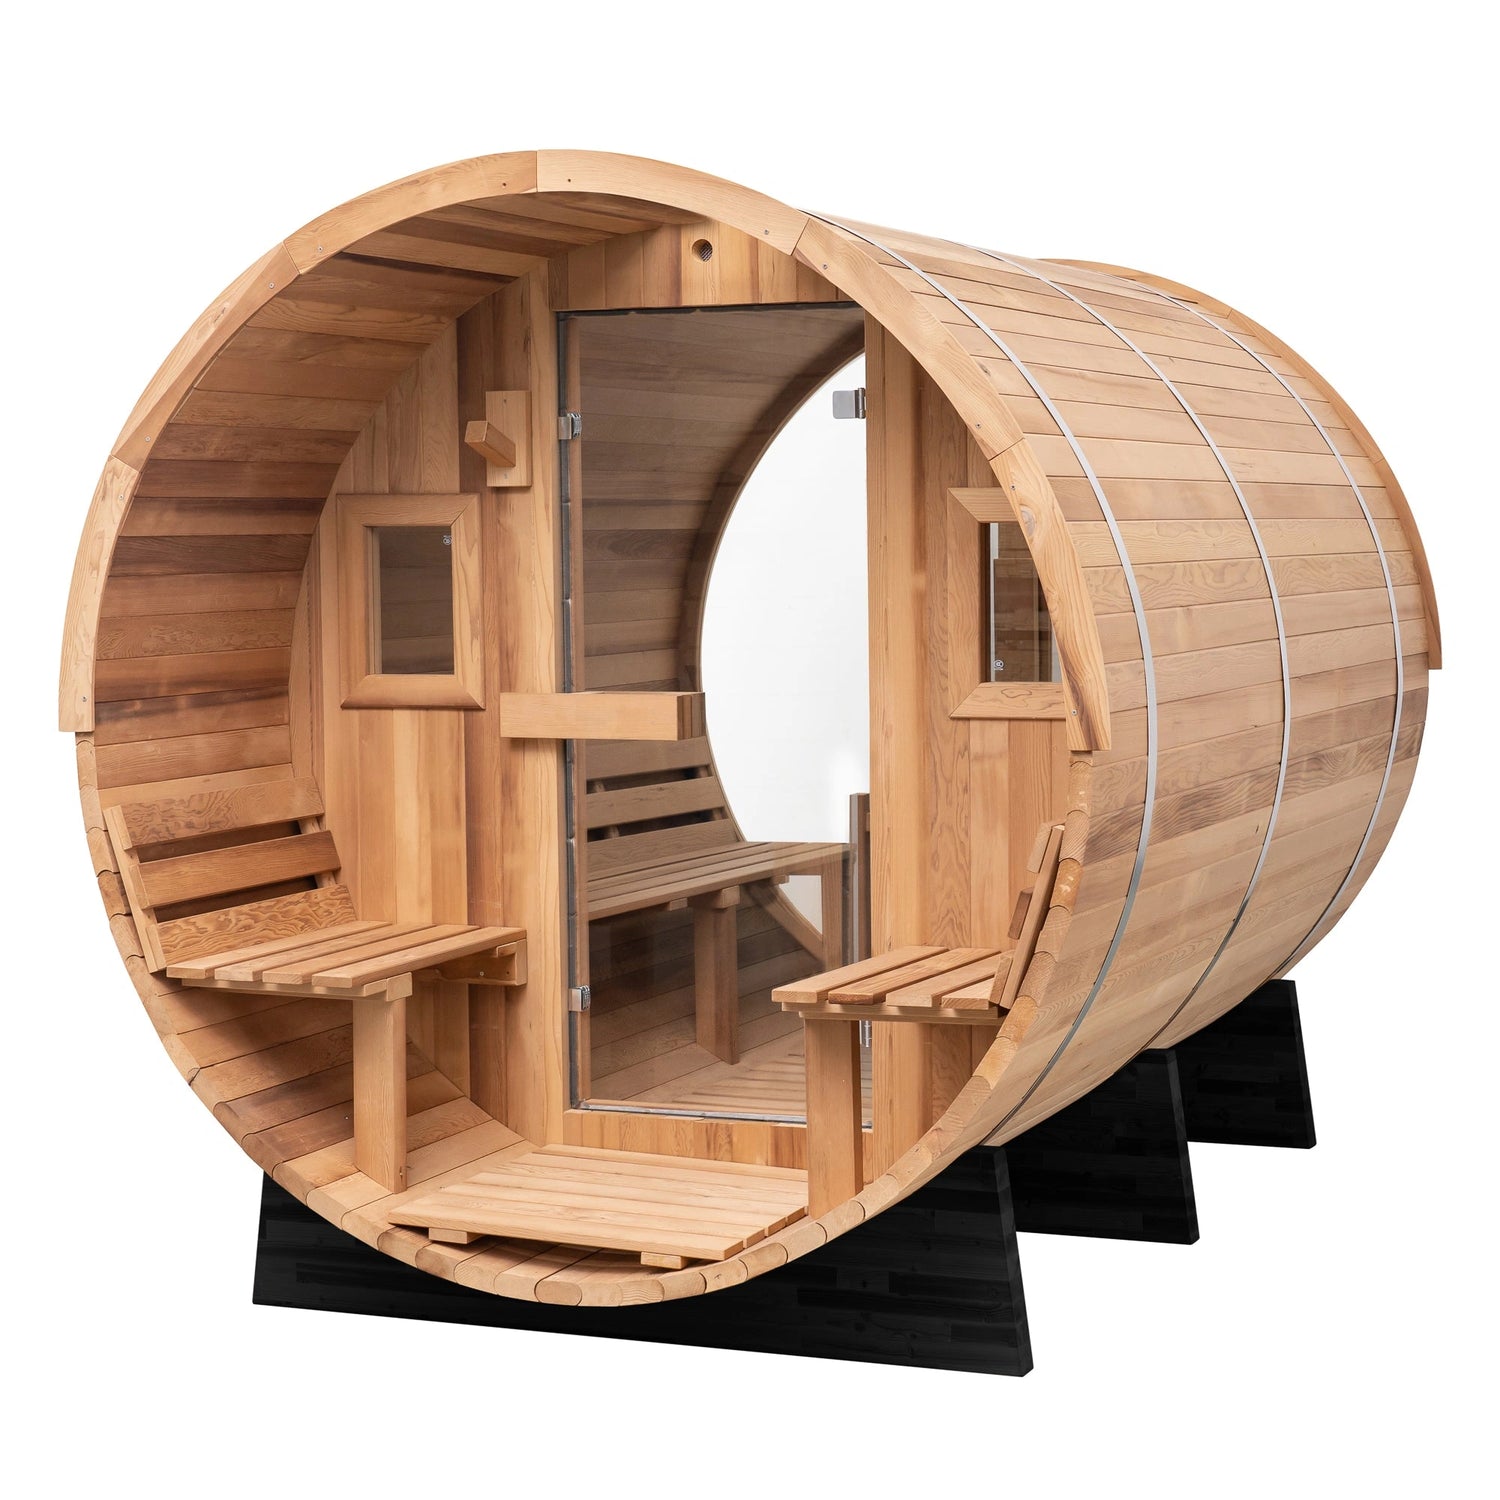
Gone are the days when building a sauna meant custom carpentry and weeks of construction. Today’s prefabricated sauna kits come with everything you need — precisely cut panels, benches, baseboards, hardware, and clear instructions.
Most outdoor saunas are designed for easy assembly. The wall panels fit together like puzzle pieces, pre-drilled holes ensure perfect alignment, and labeled components make the process intuitive even for first-timers.
For a small to mid-sized barrel or cabin sauna, two people can typically complete the setup in half a day. Larger saunas may take a full weekend, but still require no specialized tools beyond a drill and a wrench.
Pro tip: If you can build IKEA furniture, you can assemble a sauna. It’s that straightforward — just with better rewards at the end.
Choose the Right Foundation
Before the first screw goes in, it’s important to prepare a solid base. A flat, stable, and well-drained surface will ensure your sauna lasts for years. Common options include concrete slabs, decking platforms, and gravel or paver bases.
The key is preventing moisture buildup under the sauna. If your backyard slopes slightly, you can level the area or build a small wooden platform to keep the structure balanced.
A strong foundation not only makes installation smoother but also protects your sauna from shifting or water damage over time.
Heater Installation: The Only Step Worth Outsourcing
While assembling the structure is DIY-friendly, connecting the heater should always be handled by a licensed electrician for electric models.
The electrician will ensure proper wiring and grounding, check compatibility with local voltage, and install necessary control panels. For wood-burning models, the process is even simpler — just install the chimney and ensure proper ventilation.
Electrical work might feel like an extra step, but it ensures your sauna performs safely and efficiently for years to come.
Materials That Make Maintenance Effortless
Modern saunas are crafted from durable, weather-resistant woods like Thermowood, Hemlock, or Western Red Cedar. These woods naturally resist moisture, temperature changes, and decay.
This means maintenance is simple: wipe surfaces occasionally, air out the sauna after each use, and apply light wood oil yearly to maintain color.
With minimal effort, your sauna will stay beautiful season after season.
From Flat Pack to Wellness Retreat
Once your sauna is installed, all that’s left is to bring it to life. Add soft lighting, essential oils, towels, or a small seating area nearby, and your backyard becomes a private retreat.
Many people describe the first session in their newly built sauna as transformative — a mix of pride, relief, and calm. It’s more than a wellness feature; it becomes a daily ritual.
What to Expect in Terms of Effort and Time
| Sauna Type | Assembly Time | People Needed | Difficulty Level |
|---|---|---|---|
| Barrel Sauna (2–4 person) | 3–6 hours | 2 | Easy |
| Cabin Sauna (4–6 person) | 1–2 days | 2–3 | Moderate |
| Custom-Built Sauna | 3–5 days | Professional team | Advanced |
Final Thoughts
So, is it easy to install an outdoor sauna? Yes. Modern prefabricated kits are designed to make the process simple and enjoyable. From unboxing to your first session, it’s less about construction and more about creating a space for peace, recovery, and everyday joy.
And when you finally sit back in that warm, quiet glow, you’ll realize: the hardest part wasn’t the installation — it was waiting to start.

